项目名称:搭建个人 Web 服务器_NGHG
文章目录
1 搭建模式:
- NGHG,即 Node.js + Git + Hexo + Github
2 搭建步骤
-
【第一步】安装 Node.js

结果验证:
1
2
3
4
# 查看node版本
node -v
# 查看npm版本
npm -v -
【第二步】安装 Git
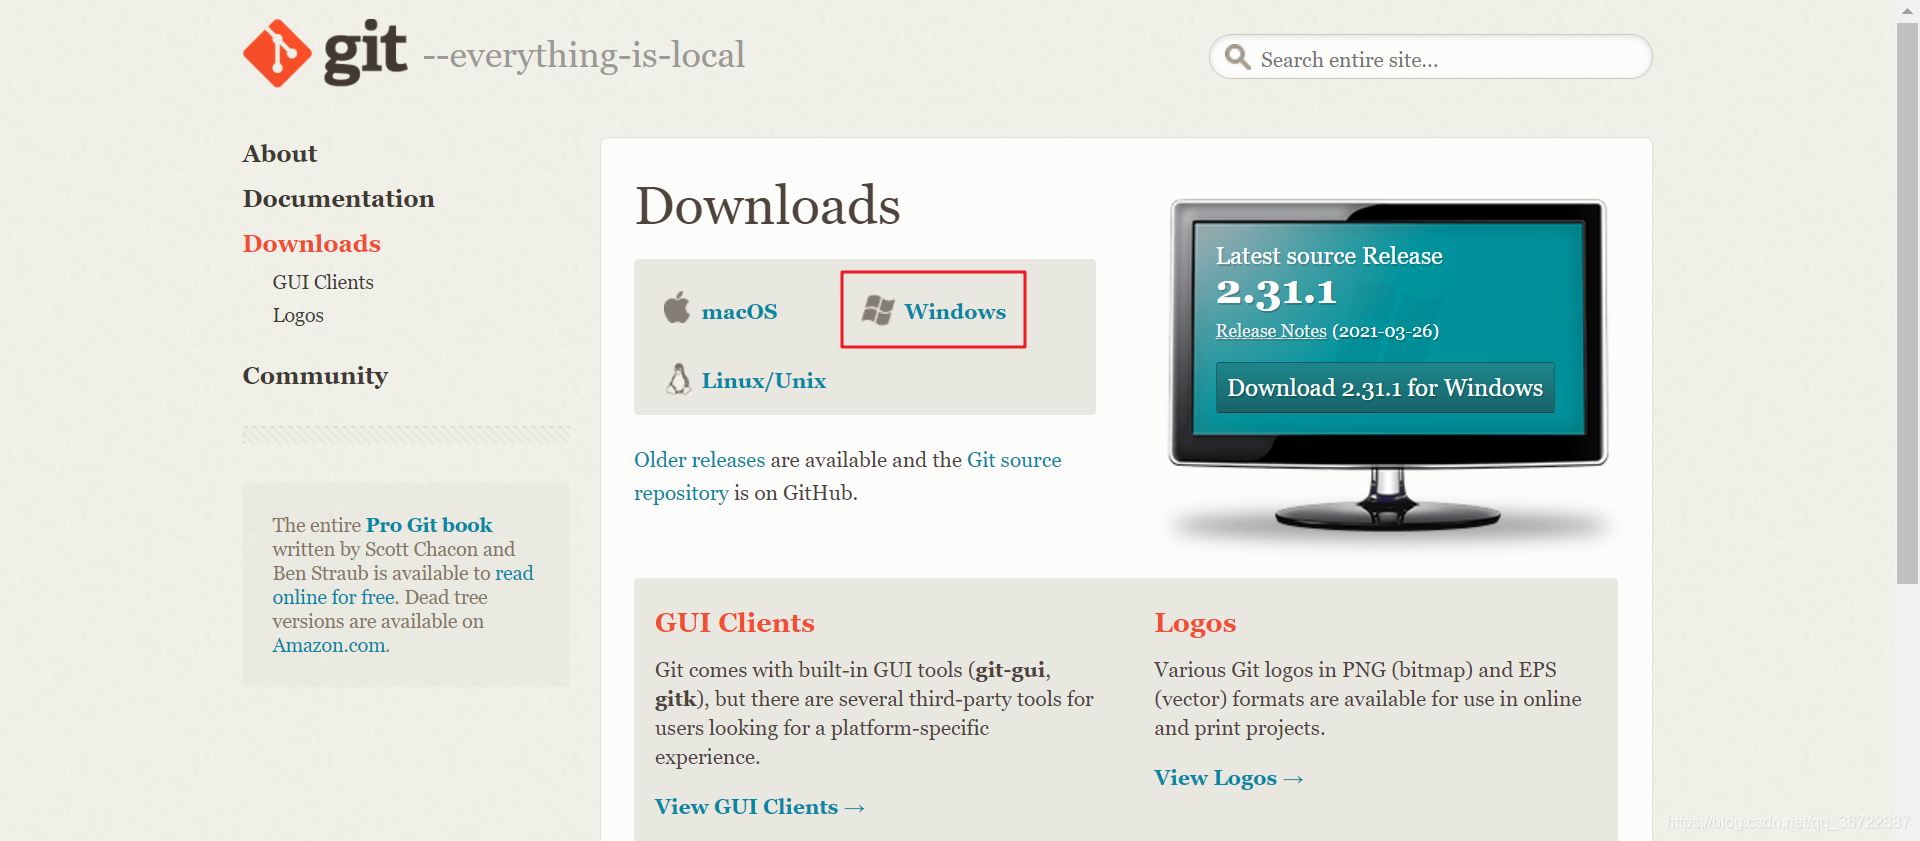
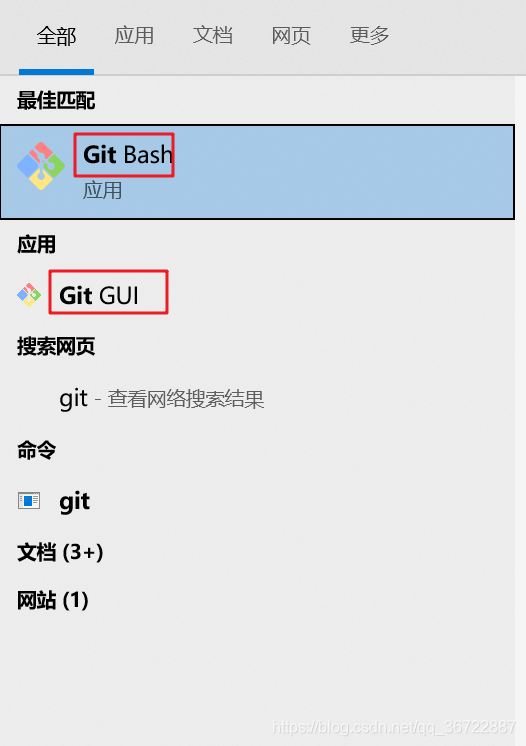
结果验证:
-
【第三步】安装 Hexo
-
新建文件夹 MyBlog (名字可自行设置,本文件夹主要存放系统文件及后续要上传的资源)
-
打开文件夹,右键 Git Bash Here
-

-
依次执行下面指令
1
2
3
4
5
6
7
8
9
10
11
12
13
14
15
npm install -g hexo
# 2.安装所需附加组件
npm install
# 3.初始化hexo框架
hexo init
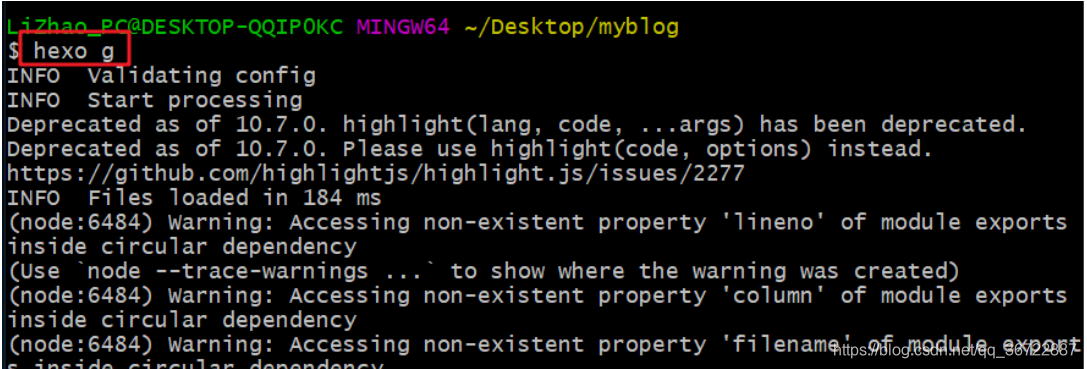
# 4.编译生成静态页面
hexo g
# 5.启动本地服务
hexo s
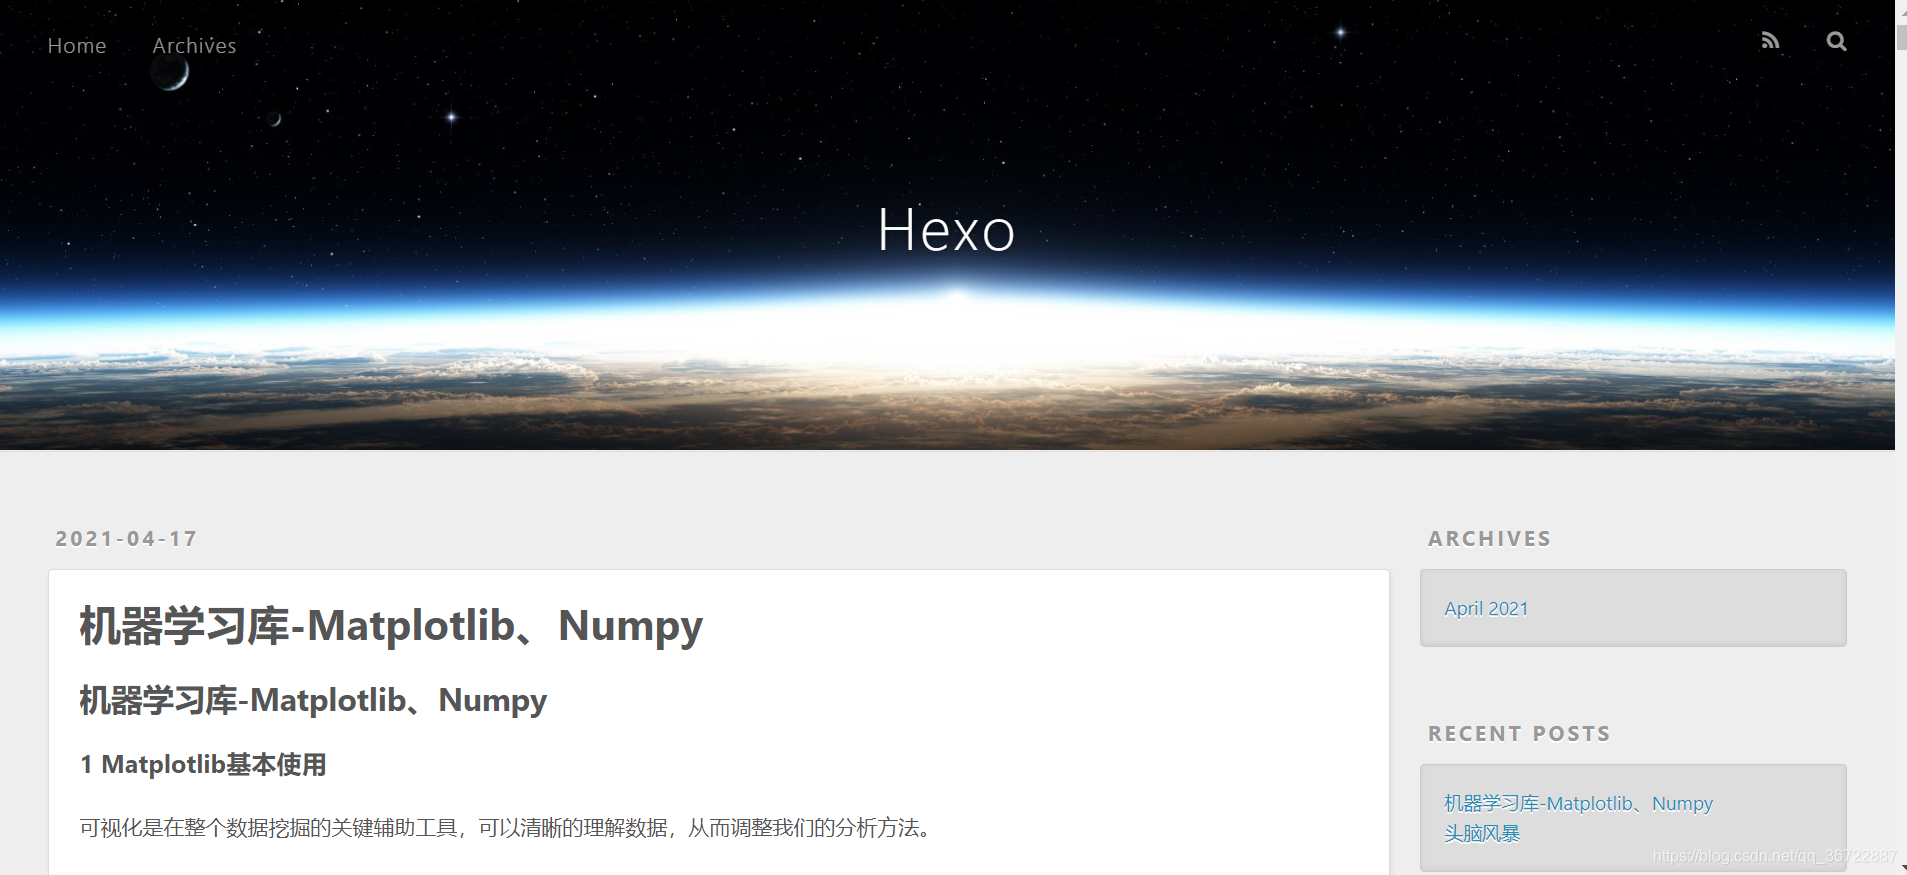
此时就可以通过http://localhost:4000 访问web页面了 -
界面


- 【第四步】关联 GitHub
- 1.1 GitHub 创建仓库

-
打开 Git bash,输入如下指令,连接 GitHub。
1
2
3
4
5
# 用户名连接 修改为你自己的GitHub用户名
git config --global user.name "yourname"
# 邮箱连接 修改为你自己的GitHub绑定邮箱
git config --global user.email "youremail"

1 | git config --list # 查看绑定详情 |

-
配置 SSHkey 添加到 GitHub
1
2
ssh-keygen -t rsa -C "你的邮箱"
# 回车即可

-
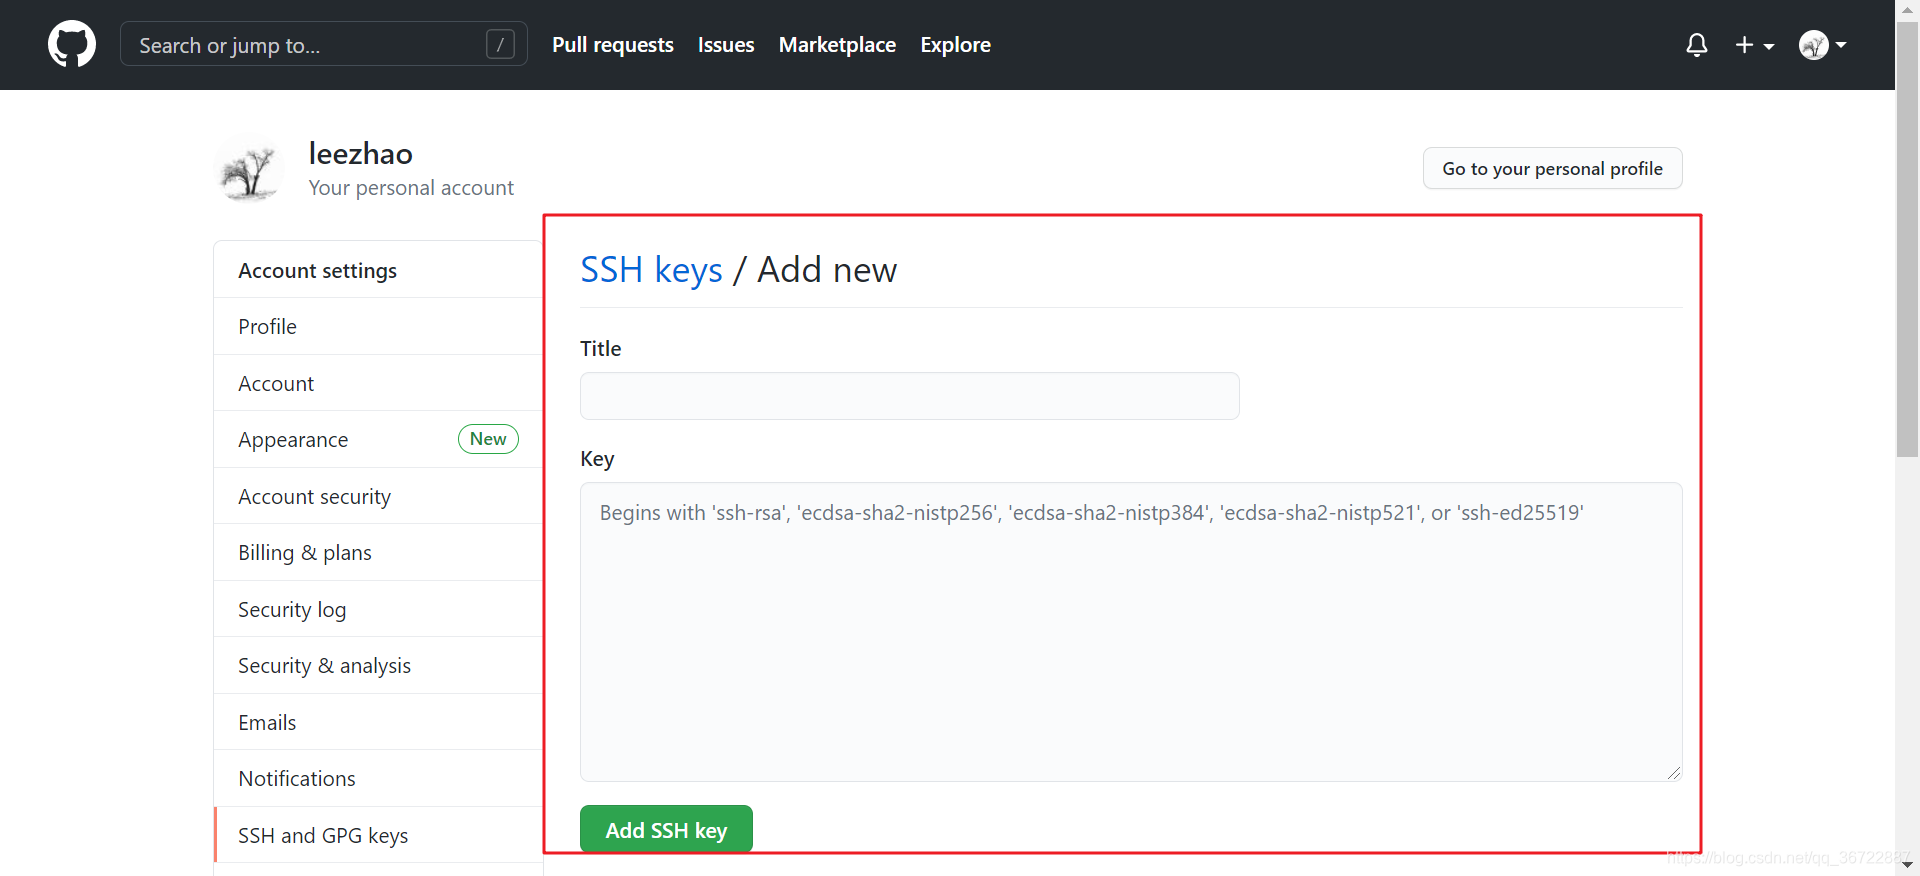
回到 GitHub 中,点击 settings—>SSH and GPG keys—>New SSH key。

-
回到 git bash 输入如下命令,得到我们的 key。
1
cat ~/.ssh/id_rsa.pub

-
将我们复制的 key 放入中间部分,标题随意,完成后点击 Add SSH key。

-
结果验证
1
ssh -T git@github.com

-
上传到 Github 所建仓库,修改文件属性。
1
2
3type: git
repository: git@github.com:LeeZhao415/LeeZhao415.github.io.git
branch: master
-
安装 hexo-deployer-git,便于展示内容。
1
npm install hexo-deployer-git --save

-
执行下列指令
1
2
3
4
5
6
7
hexo clean # 清理数据库
hexo g # 生成内容
hexo s # 打开服务器
hexo d # 展示内容-
结果验证

-
-
测试访问
在浏览器中输入 http://leezhao415.github.io 访问
3 创建博客
1 | hexo n "博客的文件名" |


执行下列代码后,打开 http://leezhao415.github.io 即可
1 | hexo clean # 清理数据库 |

4 常见问题
打开链接是提示如下:

原因:
Hexo 无法解析模板文件
解决方案:
使用以下的命令
1 | npm install hexo-renderer-ejs --save |
最后更新: 2021年07月14日 21:06